-
0
Your CartOrder Subtotal0.00
- 0
Kitchen Lighting:
Tips from a Designer
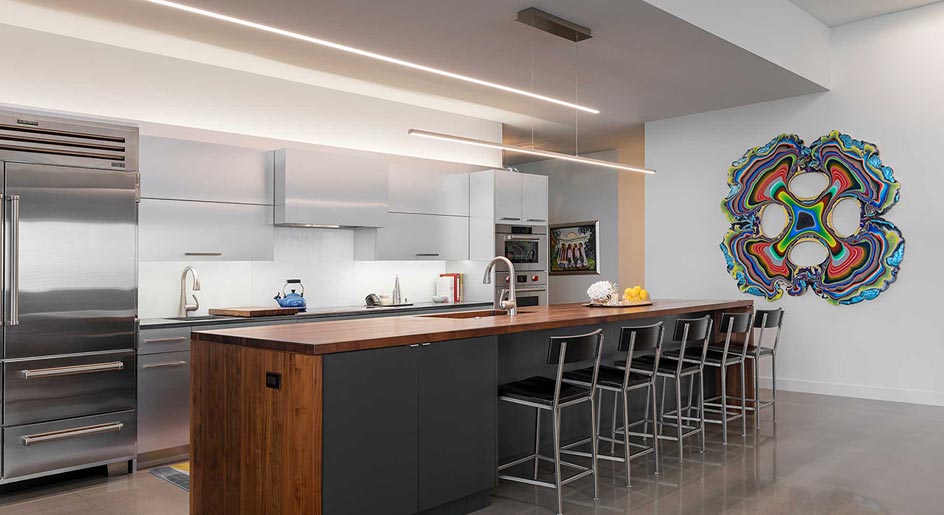
The kitchen is the heart of the home, and rightfully so. It’s where we prep meals, host dinner parties, pay bills and do homework. Any multi-functional space needs lighting that can accommodate such a wide variety of tasks. In this kitchen, that means task lighting, accent lighting and general, ambient lighting.
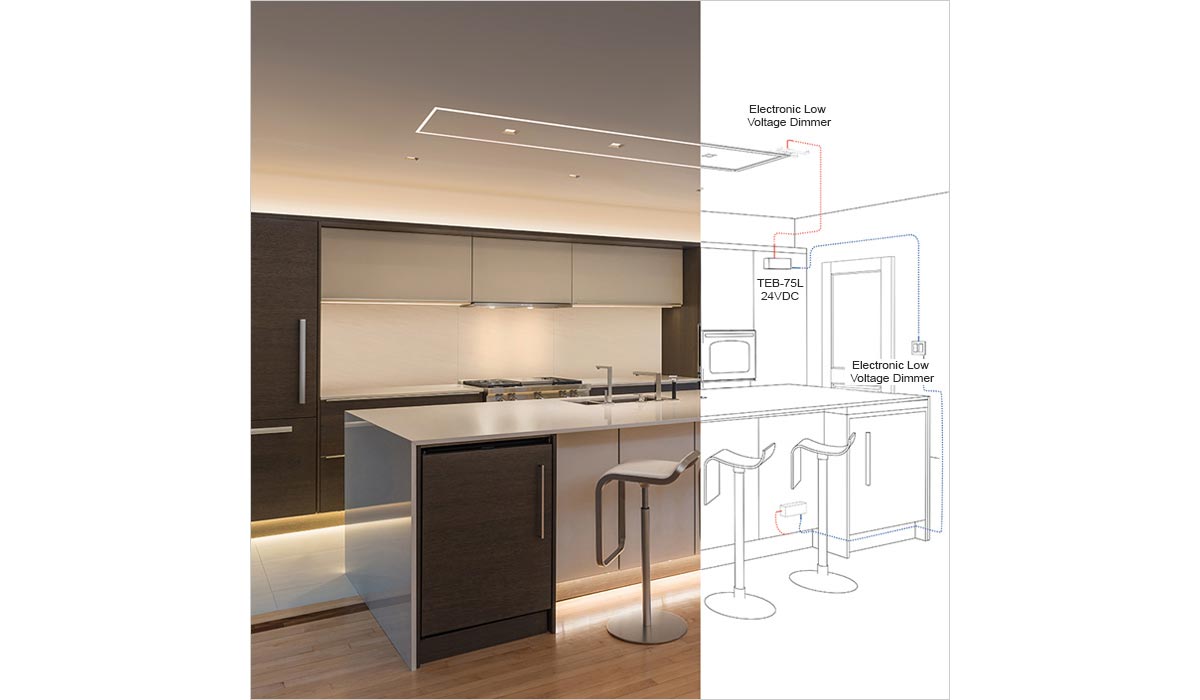
When planning the lighting for a kitchen, think of it like adding ingredients to a meal: Start with task lighting - ask yourself what you do in this space, and where you need focused beams of light to help you accomplish that. Next, add accent lighting for visual interest, and finally general lighting to create the right mood, ambiance and overall aesthetic. Add a dash of dimmers, controllers and light switches at the end, and you’ve got a full meal. Let’s dig in!
Kitchen Task Lighting
Task lighting focuses on a specific area to provide targeted illumination for accomplishing tasks. Imagine yourself in the kitchen; think about whatever you normally do there and where you do it. Break the kitchen up into the individual task areas that need light: cabinets, drawers, countertops, pathways and the sink.
Shop Best Pendants View Kitchen Ideas
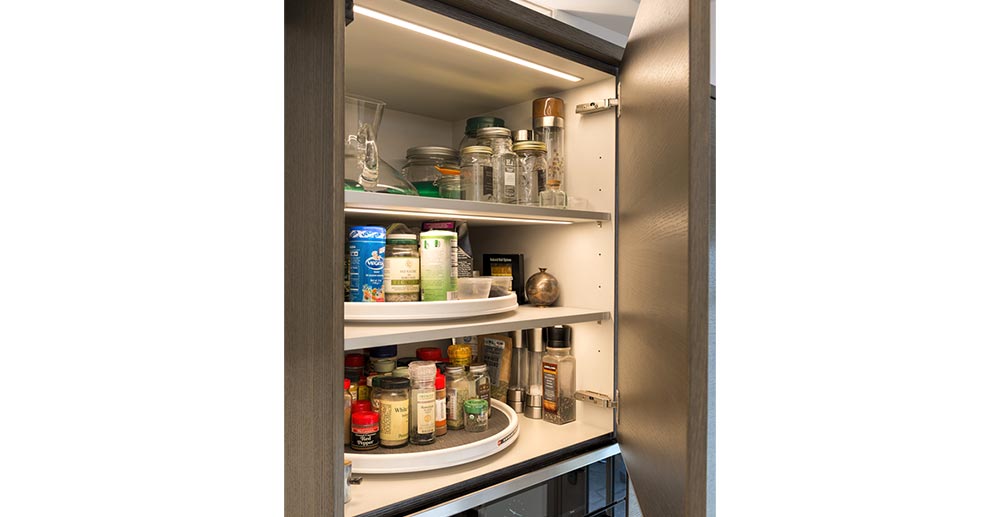
Lighting Kitchen Cabinet Interiors
One of the first things many people do when they head into the kitchen is turn on the lights and go to the fridge, which already has a light. When you open your cabinets, wouldn’t it also be nice to have light in there, too?
The best lighting solution for cabinet interiors is to install Light Channel Millwork on the underside of each shelf, a couple of inches from the front of the cabinets. This accurately lights items in each cabinet while avoiding any shadow in the front. The great thing about Light Channel Millwork is that it’s available in a wide variety of lengths made to order, ranging from 2 to 96 inches, and it’s easy for electricians to install.
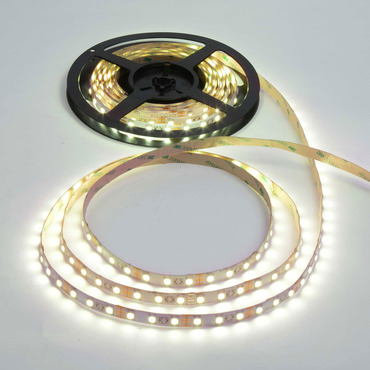
LED Soft Strip (tape light) is also an option for cabinet interiors, but use Soft Strip with caution. The individual dots might be seen, especially if the cabinets are higher up. In some cases, depending on the cabinets, you can use 45 Degree Light Channels or Soft Strip with an L Channel.
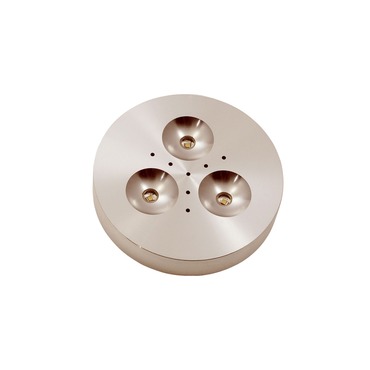
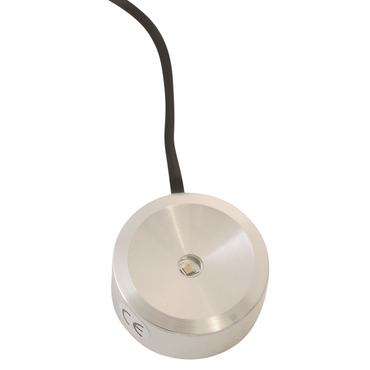
LED Puck lights create a different effect, ideal for creating an isolated pool of light. Use Pucks or Dot lights to highlight individual items or those in a series. Their compact size and easy installation make Pucks attractive to home owners considering a simple remodel.
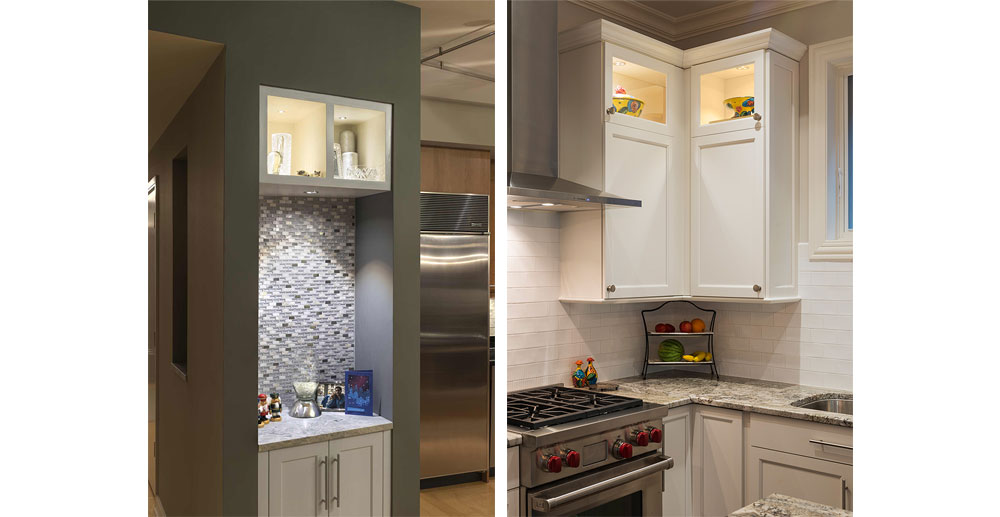
For glass door cabinets displaying china or glassware, another option is to create back lighting by placing Soft Strip or L-Channel (which provide a nice, wide flood) one to two inches from the back of the cabinet, shining either up or down. Definitely use L Channels with the Strip if you’re going to shine the light upwards.
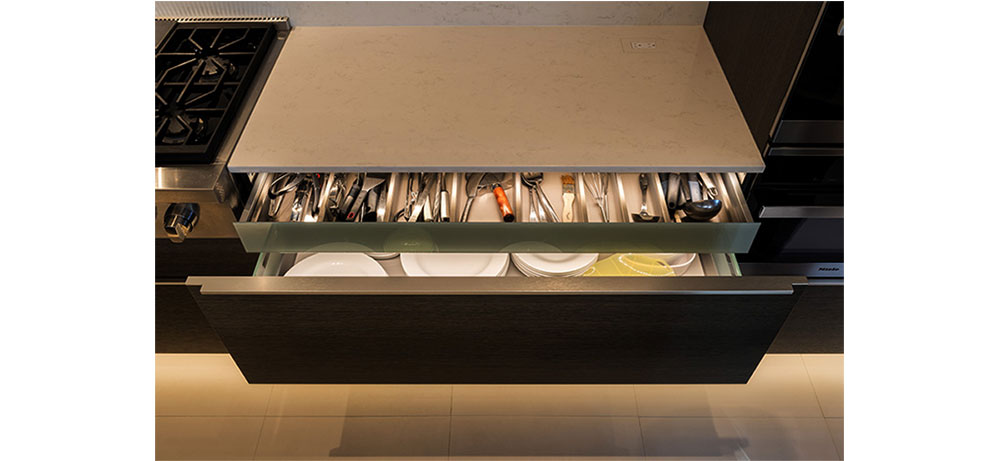
Lighting Kitchen Drawers
When you open your refrigerator door, and now your cabinets, you appreciate the light. So why not do the same for your drawers? Simple LED Soft Strip placed in the right location will work perfectly and make your silverware sparkle. You don’t need a diffused lens here as there is no glare, only sparkle. If you prefer using a switch or motion sensor with the drawers and wire them up to the Soft Strip, the lights will turn on when the drawers are opened and then turn off automatically after you close them.
Lighting Kitchen Countertops
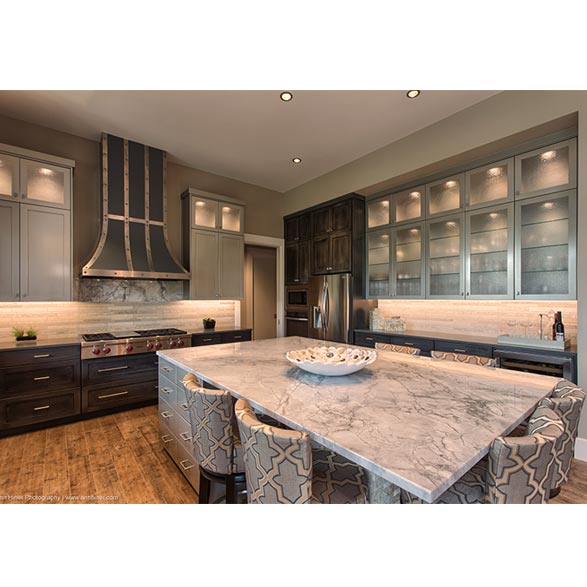
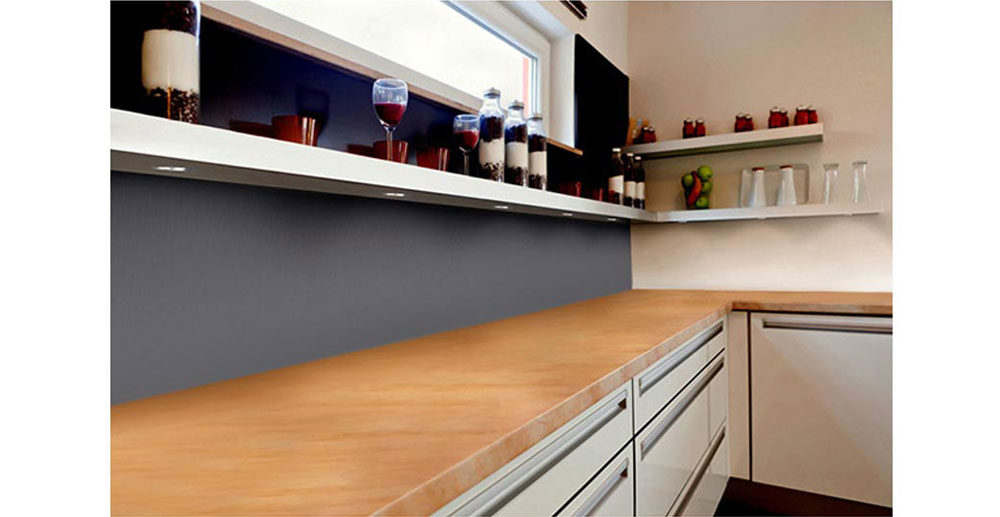
Some of the most precise tasks in a kitchen take place on the countertops. Countertops at the perimeter of the room typically sit below upper cabinets, so the easiest way to light them is to install undercabinet lighting.
Keep in mind that many countertops have shiny surfaces, i.e. marble or granite, so a diffused light source is needed to avoid reflected glare. In these cases, a light channel is a much better option than bare LED Soft Strip facing down. If the budget calls for Soft Strip, place it on its side on the lip of the cabinet, facing the wall. If you have no cabinet lip, mount an L Channel under the cabinet.
Light Channel Millwork is ideal for under cabinet lighting, easiest to install if the cabinets are brand new and have not been installed yet. Another option is to place Light Channel 45 Degree Surface Mount at the front of the cabinet facing the wall, which will light the countertops nicely. For easier installation, you can also place the 45 Degree Light Channel at the back, facing the front. Just keep in mind that people may be able to see light channels mounted in the back when sitting down at a dining table if the cabinets are in view.
If the countertop surface is matte, LED Pucks or Dots can be used for kitchen undercabinet lighting. Center pucks under upper cabinets and space them evenly, keeping beam spread in mind. A good rule of thumb for 90 degree puck lights is to place them roughly 20 inches apart; this will give you beams that overlap about 50%. Keep the full length of the wall in mind, as well as surrounding architectural elements, and work from the outside in.
Understanding Brightness
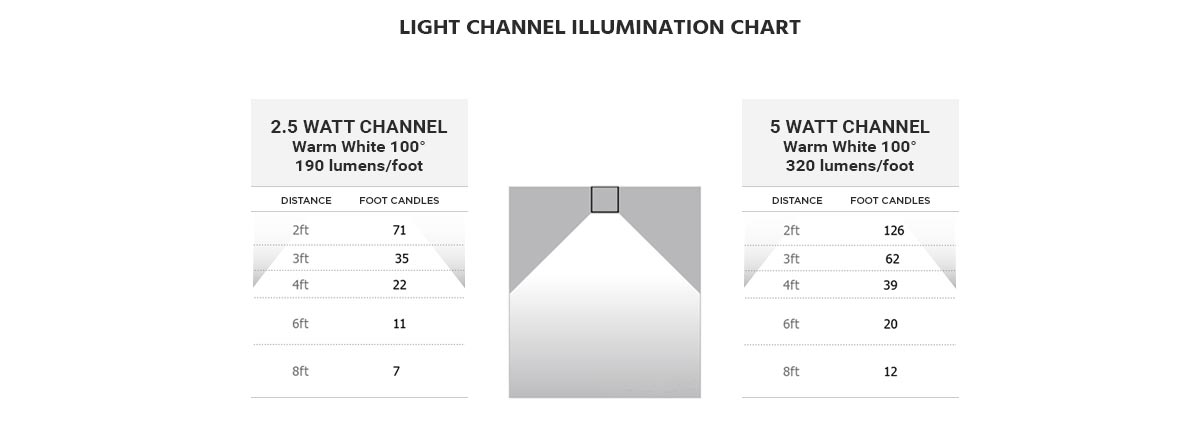
When picking out lighting, don’t just think of wattage because that’s only how much energy is being used by the bulb or light source. Rather, think more about the actual amount of light that is being produced, measured in lumens (the amount of light produced by a light source) and footcandles. The amount of footcandles needed on countertops depends on the age of the occupants. As we age, the lenses of our eyes begin to yellow and become much denser, which affects how much light we see. 50 footcandles is standard, but people over 50 years old may need 100 footcandles or more.
Those over 50 should consider a 5-watt Light Channel to light their kitchen countertops; for those under 50, a 2.5 watt Light Channel should suffice.
Lighting Kitchen Island Counters
If you use the kitchen island for food prep and other tasks, you’ll need targeted task lighting before you can think about decorating with pendants. While the kitchen island is often the place for decorative fixtures like pendants, most pendants distribute light in all directions rather than providing focused beams of light to adequately illuminate countertops.
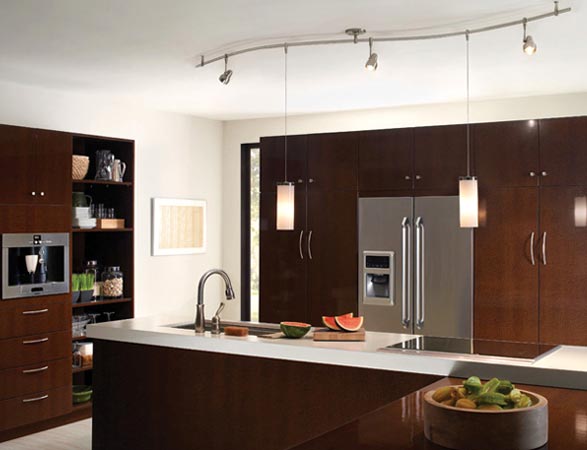
Consider adjustable accent heads or recessed fixtures to light the tasks on kitchen islands. Decorative pendants can be added as an additional layer of lighting later. Monorail works nicely over kitchen islands because you can bend the rail however you’d like and get the best of both worlds; you can have both accent heads and pendants on the same rail. The accent heads provide directional task lighting, and the pendants offer a decorative look. If you use 2-Circuit Monorail, you can wire the heads and pendants on separate dimmer switches for ultimate lighting control.
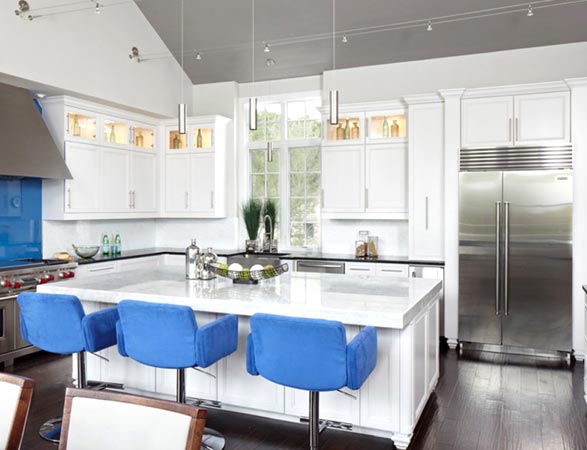
For a lighter feel than track or monorail, Kable Lite spanning the space over a kitchen island gives you the same flexibility of adjustable accents with pendants.
Lighting over the Kitchen Sink
Once you have the cabinets, drawers and counters lit, the sink is next. To make sure you can see the dishes you’re washing, simply placing one or two spots or a recessed can over the center of the sink will do the job. Another option is to place a mono-point above the sink, and install a track head or pendant with a focused beam.
Kitchen Accent Lighting
Once you have the task lighting you need, use accent lighting to draw attention to architectural details and other points of interest in the kitchen, such as artwork or other displays. Make sure your kitchen accent lighting has a minimum contrast ratio of 3:1; accent illumination should be at least three times brighter than the surrounding light in the room in order to stand out. A 5:1 ratio is appropriate when you really want to draw the eye to particular features.
Shop Best Pendants View Kitchen Ideas
Toe Kick Lighting
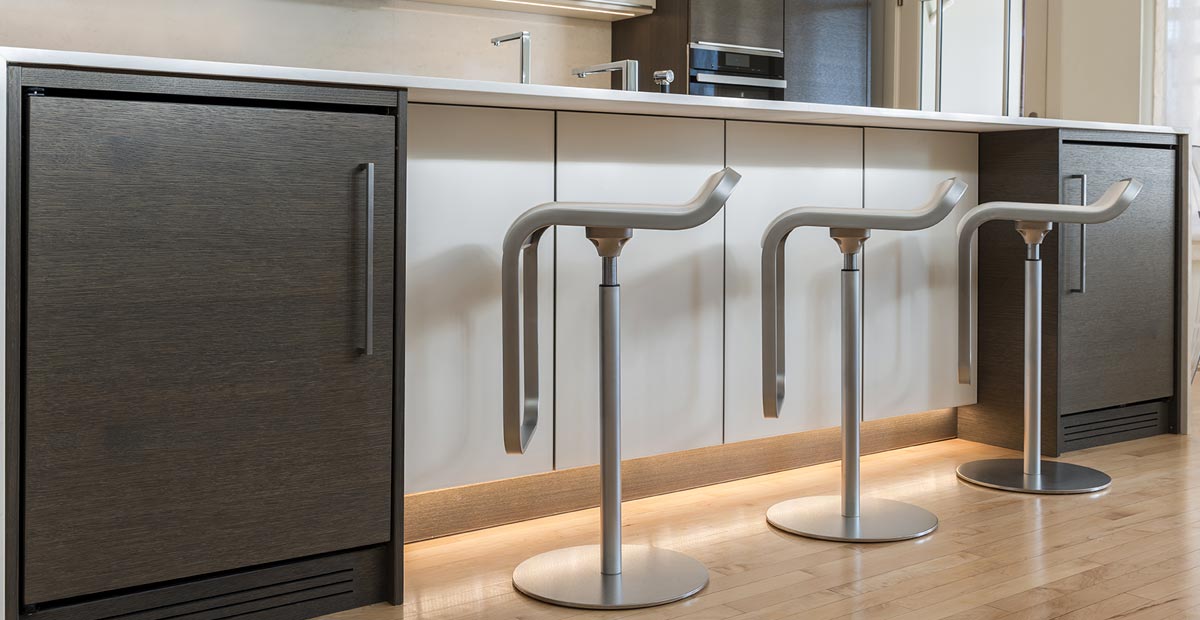
The easiest way to accent your kitchen is with toe kick lighting around the perimeter of the space, underneath the lower cabinets and underneath the kitchen island. It’s a simple and elegant way to define and emphasize the space, provides safety pathway lighting and makes a unique nightlight. For toe kick lighting, one- or two-watt SS1 LED strip lighting will usually do the trick, but take a survey of the kitchen floor. Is it matte or shiny? High-gloss floors reflect the individual dots within LED strip lighting, so shiny floors call for more diffused light. In most cases, mounting the LED Strips on their sides will work. If you want to be safe, LED light channels with diffused lenses are a great solution. Don’t forget to put your toe kick lighting on a different switch or dimmer to control it separately.
Above Cabinet Lighting
Lighting above your cabinets can add both accent and general lighting to your kitchen design. Simply place a light channel or Soft Strip above the cabinets to provide uplighting.
Accent Lighting Inside Kitchen Cabinets
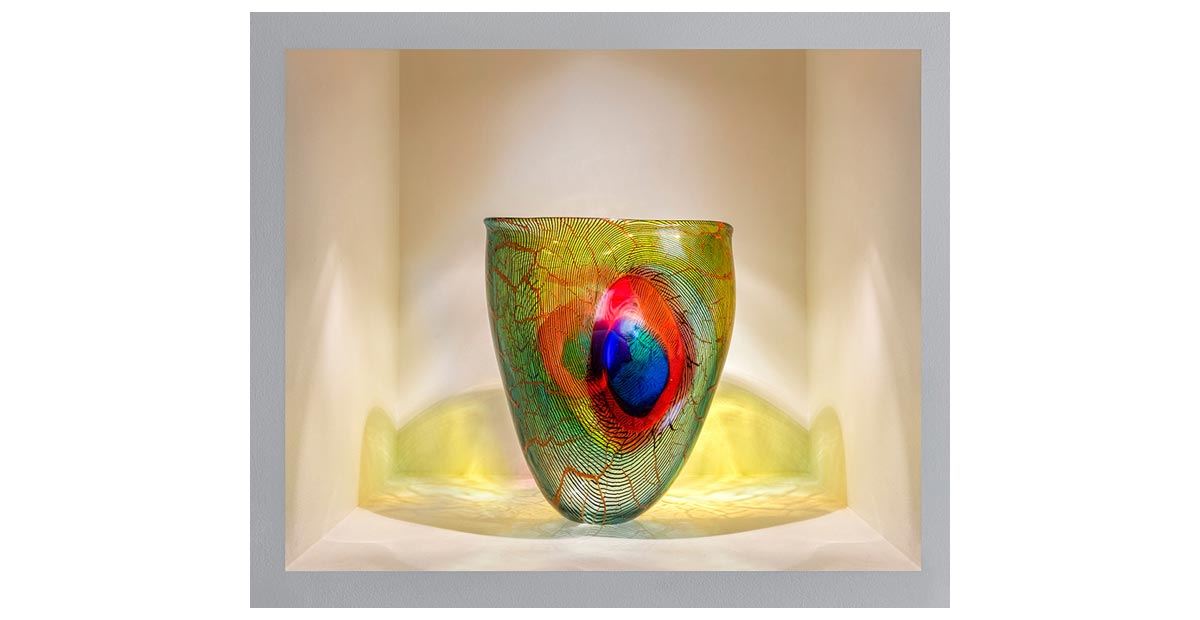
If you have glass cabinets or display shelves in your kitchen, Pucks and Dot lights are easy to install and useful for accenting display pieces like vases. Before deciding on the placement, act as if you were the light. In terms of lighting a vase, do you want it to glow from the inside? It’s also important to keep the size of the vase’s neck in mind; a 30-degree Dot fixture will work perfectly for a small vase. If you want to showcase your dishes, use a 90-degree Puck and place them two to four inches from the front of the cabinet.
Art Lighting
If you have artwork on your kitchen walls, there are a variety of ways to light it well. Accent heads mounted to the ceiling, or on monorail/track should be positioned so that the light shines at a 30-degree angle onto the artwork. Refer to our accent lighting chart for help with appropriate fixture placement. You can also install plug-in LED picture lights with 90+ CRI for an easy retrofit solution.
General Kitchen Lighting/Ambient Lighting
By the time you have accounted for all of your task and accent lighting in the kitchen, you should not need much more additional light to fill in the space. Well-placed recessed lighting, a chandelier and/or decorative pendant lighting can do the trick. This is the opportunity to incorporate decorative fixtures to let your personal style show through.
Shop Best Chandeliers View Kitchen Ideas
Recessed Lighting
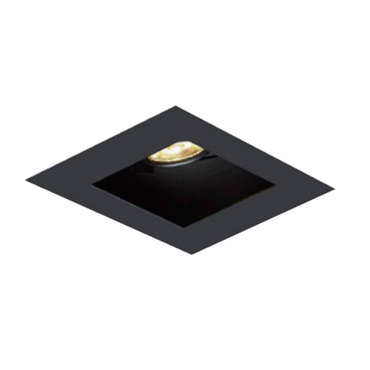
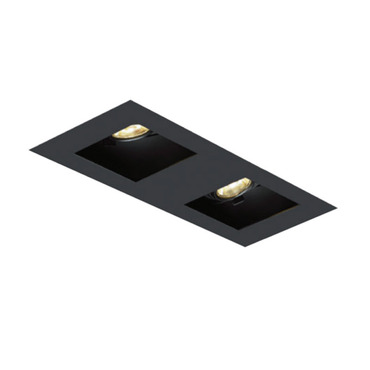
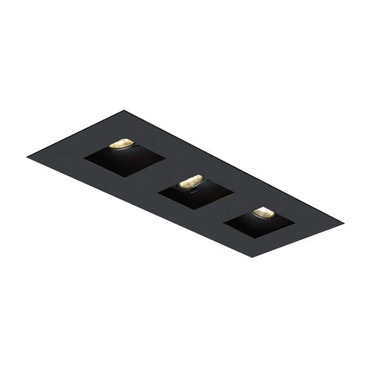
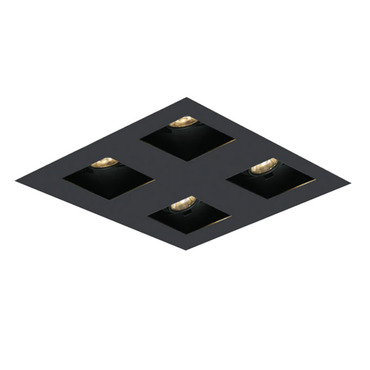
Recessed lighting can help fill in the gaps for general kitchen lighting. When choosing recessed lights, take the beam spread and measurements of the space into account. If you have an eight foot ceiling and an island that is four feet wide, you will need a beam spread to match (see chart below - publish this beam spread). To avoid reflected glare on shiny countertops, it’s best to avoid direct downlights; cross-illumination can help in this case.
If you have existing cans, LED retrofit trim kits and/or retrofit LEDs bulbs are a great option; they come in a wide variety and are easy to install. Be sure to select an LED bulb that will fit the recessed can; Soraa MR16 LEDs deliver the best CRI and beam spread, run cool and use 1/5 the wattage of halogen bulbs (7-10 watts vs 50 watts). Green Creative and TCP are also great brands for energy-efficient LED light bulbs.
While they may seem more expensive at initial purchase, they outlast incandescent lamps by 15 times (i.e. 30,000 hours compared to 2,000 hours).
You can also mix recessed cans with TruLine as a great ambient and task lighting option. TruLine above the kitchen island provides a sophisticated, clean look as well as accents the geometric shape of the counter while offering ambient light. What’s nice about TruLine is that is comes in a variety of sizes, all of which will define your space. TruLine easily recesses within 5/8” drywall, which means you don’t have to think about the placement of the studs in your ceiling when planning your layout.
Flush Mounts
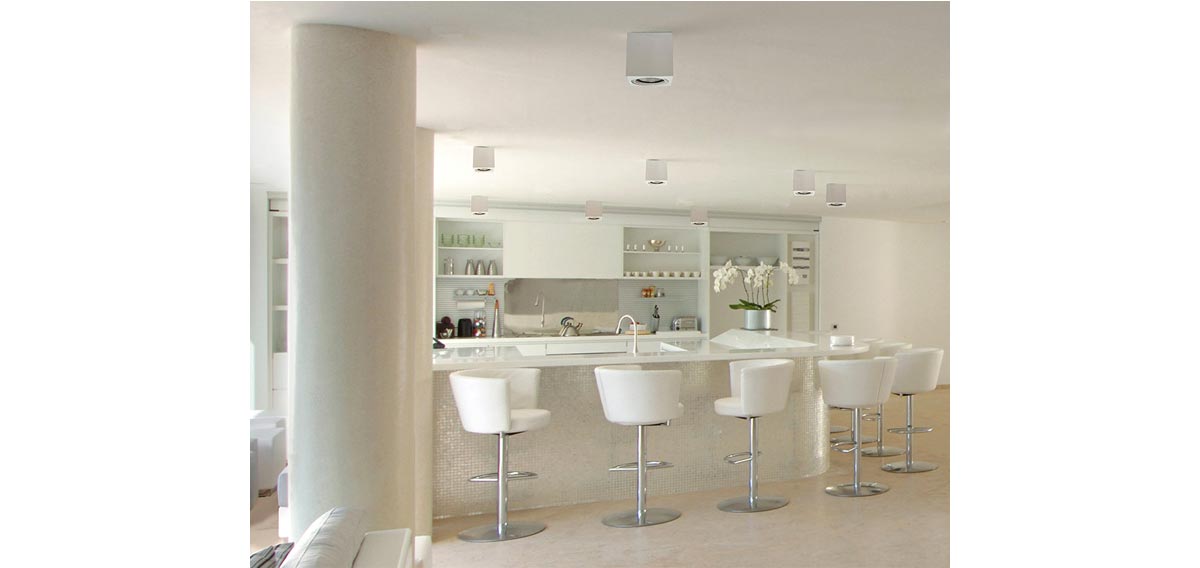
As an alternative to recessed lights, ceiling flush mounts offer decorative ambient lighting in a kitchen. Similar to flush-mounted ceiling lights are ceiling semi-flush lights, which project up to 18 inches from the ceiling. For decorative statements in kitchens with lower ceilings, semi-flush ceiling lights can take the place of a decorative chandelier.
Chandeliers and Kitchen Pendant Lighting
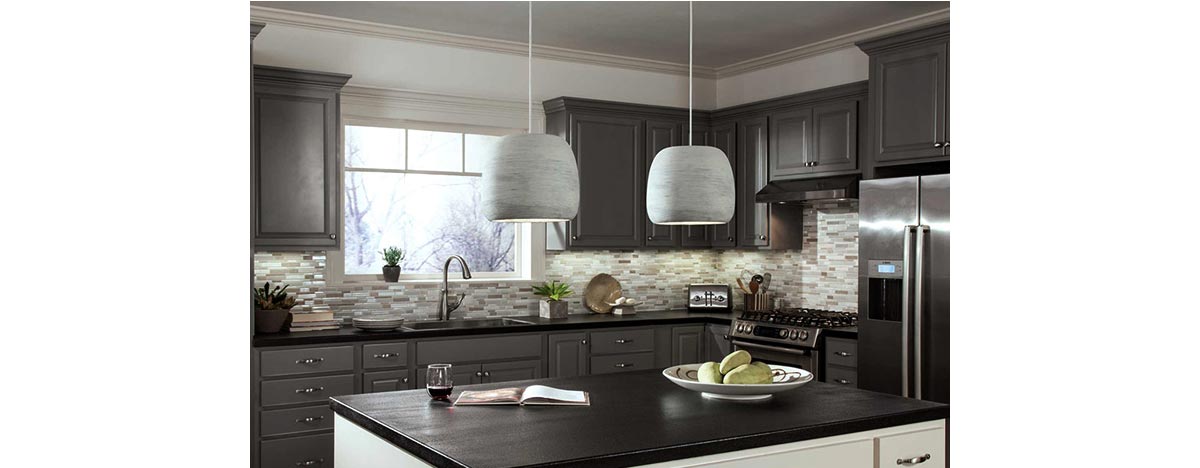
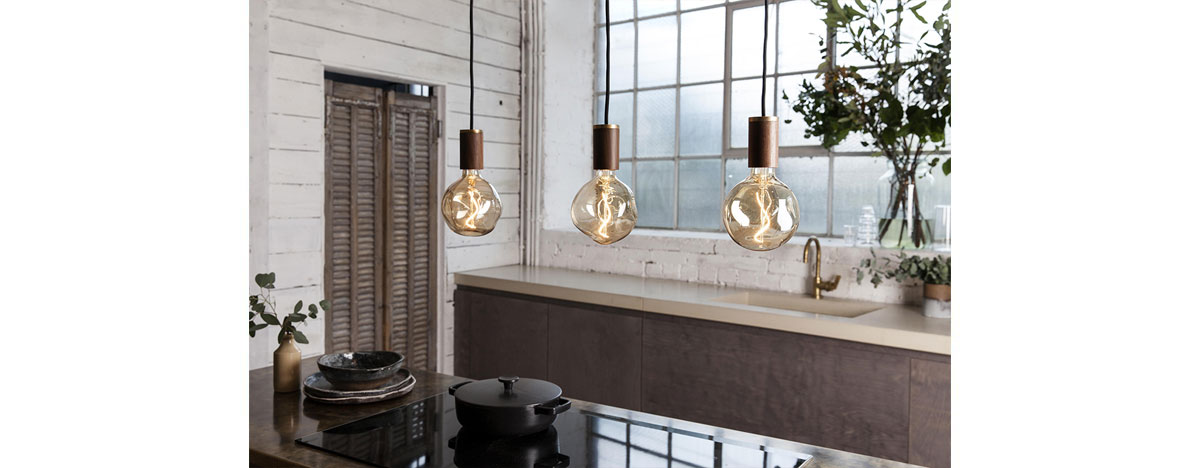
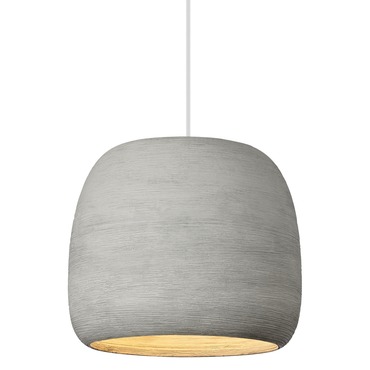
Pendants are among the most popular choice for kitchen island lighting. Begin by selecting what material(s) you’d like — fabric, glass, metal, crystal or even concrete. Next, remember that the laws of good design favor odd numbers. For example, an eight-foot island holds three small- to mid-sized pendants, while a twelve-foot island holds five small- to mid-sized pendants or three large pendants. Some spaces can accommodate two large pendants over an eight-foot island, which is a popular look at the moment.
Tech Lighting has a fantastic selection of pendant lighting in a variety of sizes that look great in the kitchen.
Multi-light pendants also look nice over longer kitchen islands. Cluster multiple pendants at staggered heights for an eye-catching visual centerpiece for the room.
While chandeliers are not as common in the kitchen, a tasteful, modern chandelier can look nice over a kitchen island or kitchen table, depending on the rest of the room’s décor. For help selecting an appropriately-sized chandelier to go over a kitchen table, refer to our Chandelier Size Calculator.
Linear Suspensions
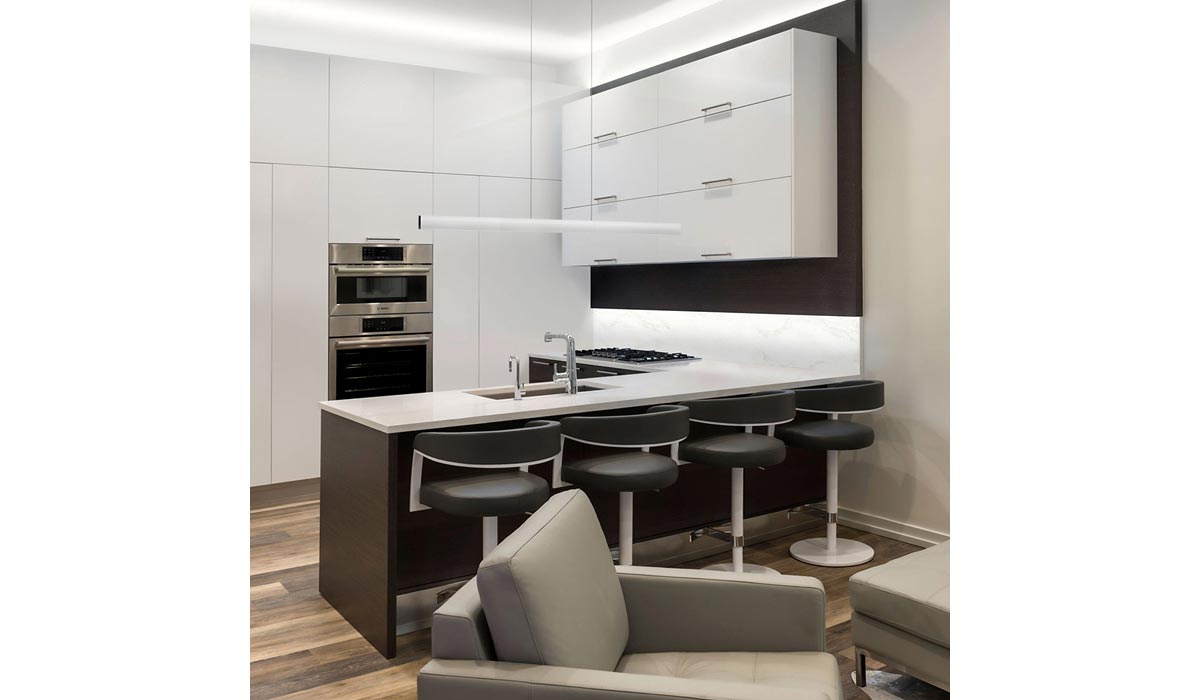
Both decorative and functional, linear suspensions can be great alternatives to chandeliers and pendants over rectangular kitchen islands. Glide and Nova Up/Down Suspensions from Edge Lighting both provide separately switched up/down LED light for independent control of indirect (up) and direct (down) light in one elegant, minimal package. For down lighting alone, Edge Lighting’s Cirrus suspension is a good choice.
When hanging pendants and suspensions, be sure they are at least 30 inches from the countertop, so as not to block your view and create a divider in the middle of the island. An exception to this rule is if you have children. Because they are significantly shorter, kids will be vulnerable to glare from kitchen pendant lights that are well-positioned for adult eyes. Hang pendants so that they fall about 6” above a child’s head—in some cases as low as 16 inches above the countertop. If you have small children, you may also choose fixtures with more diffuse light sources or those whose light source is sufficiently regressed inside the fixture to avoid glare.

Finishing Touches
As a final step, take a survey of the kitchen. Is there anything you missed like a pathway or area of your cabinets? If you have recessed cans, are there enough to help out the other fixture within the space?
Shop Linear Suspensions View Kitchen Ideas
One commonly overlooked aspect of kitchen lighting design is the placement of the electrical outlets. Where are they? Are they easy to get to? It’s convenient to place them flush with the countertop or underneath cabinets. Do you do a lot of work at the kitchen island where a computer cord often needs access to an outlet on the side of the island? For great undercabinet outlets and receptacles, browse our selection of Legrand products.
Every kitchen presents its own unique set of design opportunities, so any information (blueprints, floor plans, pictures, color samples, etc.) you can bring into the store with you or send to your online sales consultant will help as you work together with your lighting consultant to sift through the multitude of different style and design choices that await you.
With over 400 brands and lighting from around the world, Lightology can offer you a wide variety of options. Our sales staff is one-of-a-kind, they are certified by the American Lighting Association and I personally train them as well.


